
DIY Wedding Suite Template - Text Containers
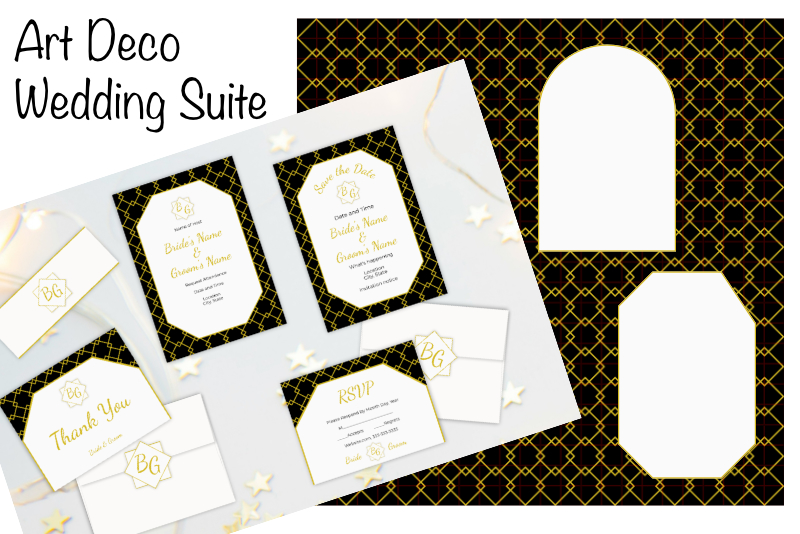
In this Affinity® Designer tutorial, we will continue to work on our DIY wedding invitation suite. We have already created the pattern background for the suite, which is the first design element for the template.
In this tutorial, we will create two versions of a second design element. We will start with a solid colored shape. This shape will be the text container for the text on the card. We will create two text containers. You can use either one in your design.
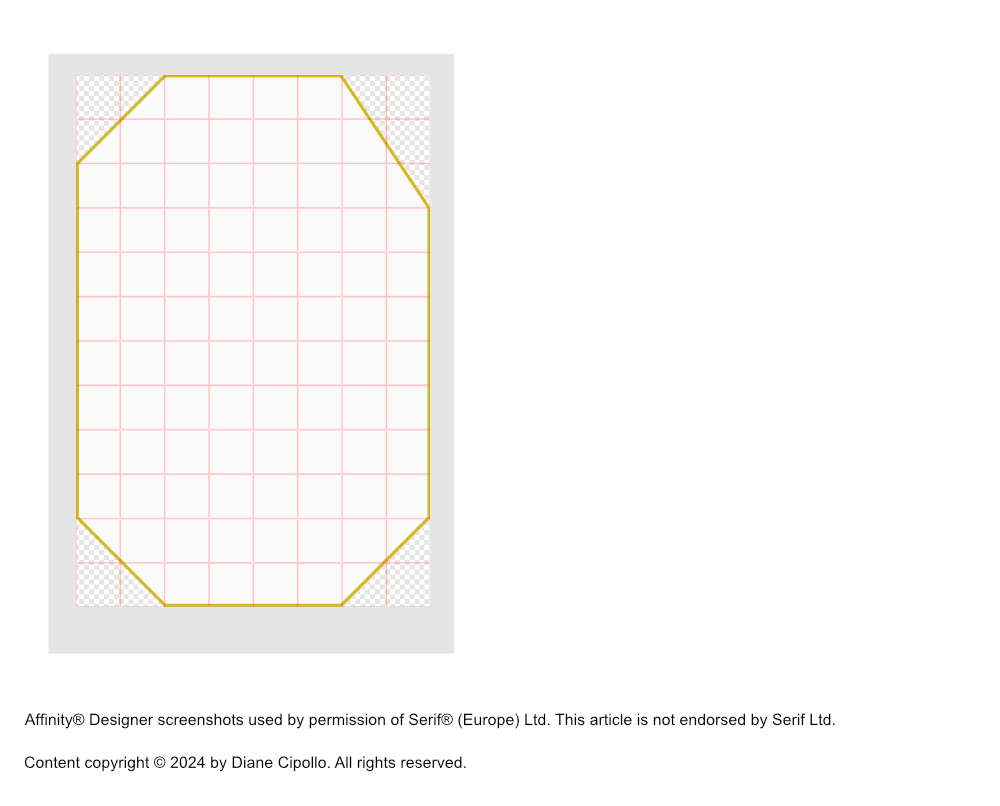
Octagon Shaped Text Container
Affinity Designer screenshots used by permission of Serif (Europe) Ltd. This article is not endorsed by Serif Ltd.
In this tutorial, we will create two versions of a second design element. We will start with a solid colored shape. This shape will be the text container for the text on the card. We will create two text containers. You can use either one in your design.
Octagon Shaped Text Container
- Start a new 4 x 6 inches at 300 dpi document.
- From the top menubar, click View - Show Grid.
- With the Pen tool, draw an eight sided octagon shape within the canvas.
- With the octagon still selected, set the Fill color to off white #FBFAFB and the Stroke color to gold #D4B921 in the Context toolbar. Set the Stroke Width to 3 pt and Stroke Alignment to Inside.
- In the Layers panel, name the layer Octagon (see screenshot).
- Click File - Save as to save the octagon shape as a separate .afdesign document named OctagonShape. Save the file in the same location as the patterned background.
You will want the octagon to be longer along the sides of the shape (see screenshot).
- Start a new document that is 4 inches x 6 inches at 300 dpi.
- From the top menubar, click View - Show Grid.
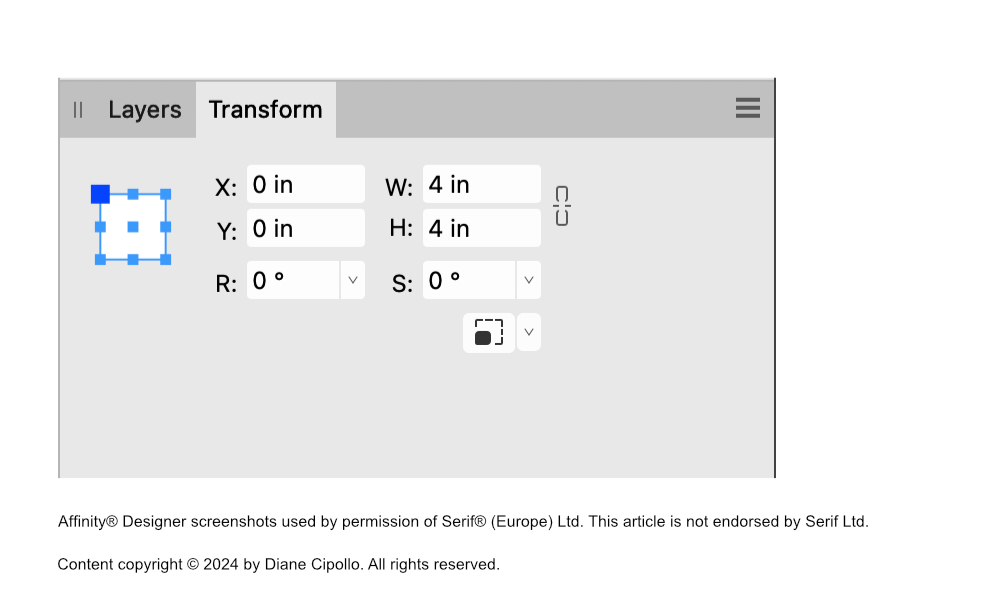
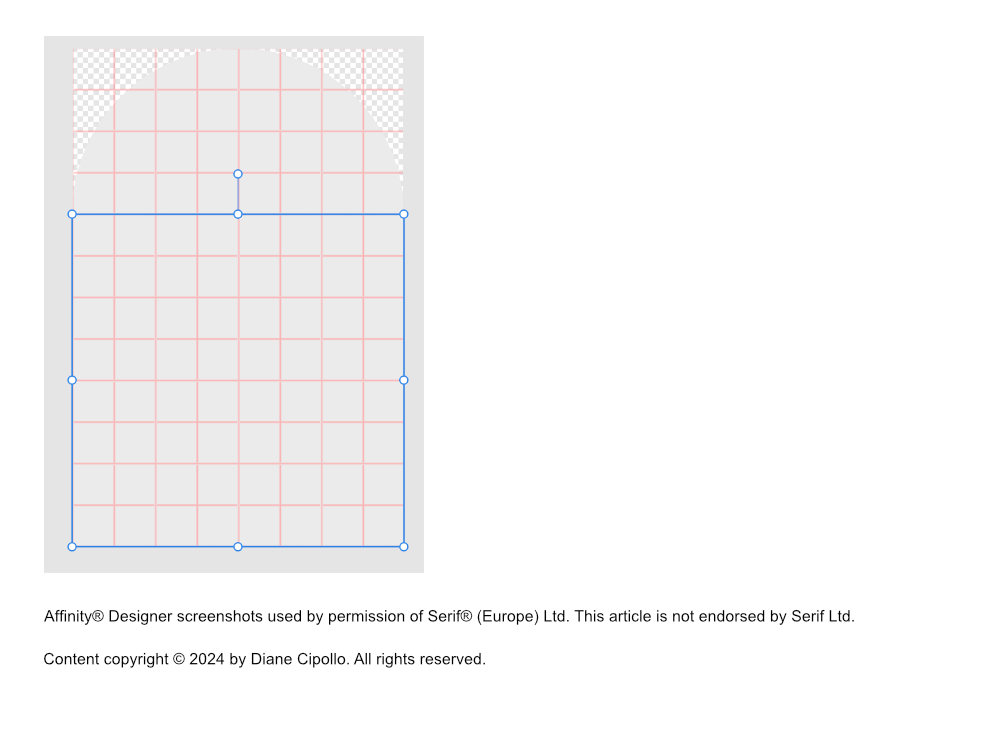
- Starting at the top of the canvas, draw a 4 inches circle with the Ellipse tool (see screenshot).
- In the Transform panel, the Width and Height of the circle should be 4 inches. The X and Y value should be zero (see screenshot).
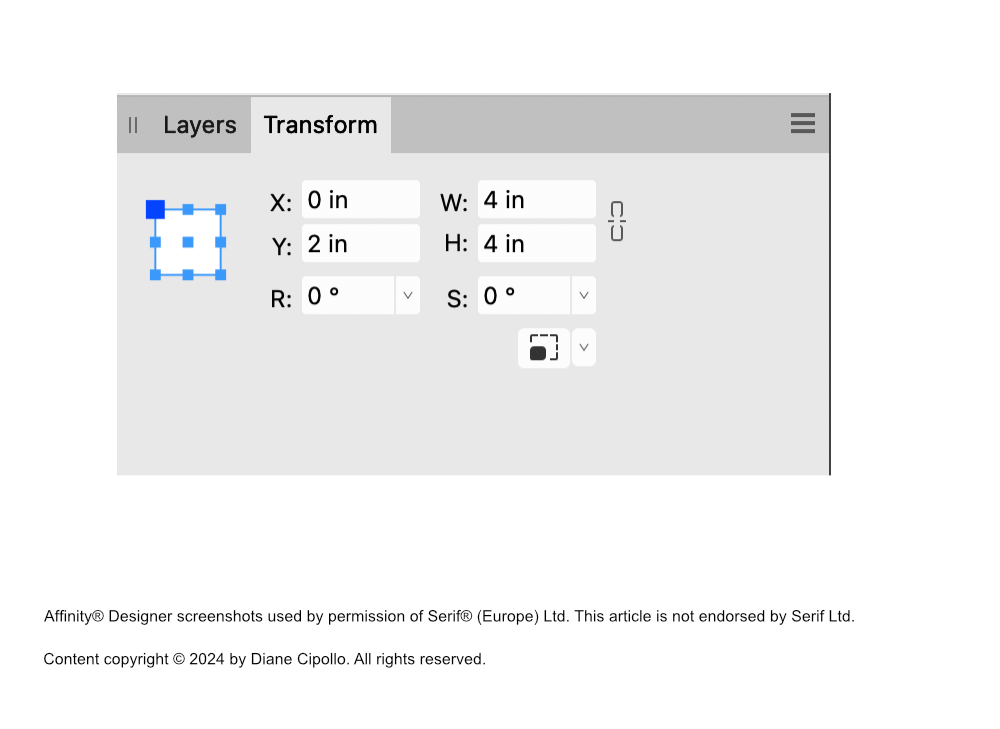
- Starting 2 inches down from the top of the canvas, draw a 4 inches square with the Rectangle tool (see screenshot).
- In the Transform panel, the Width and Height of the square should be 4 inches, the X value should be 0 inches and the Y value should be 2 inches (see screenshot).
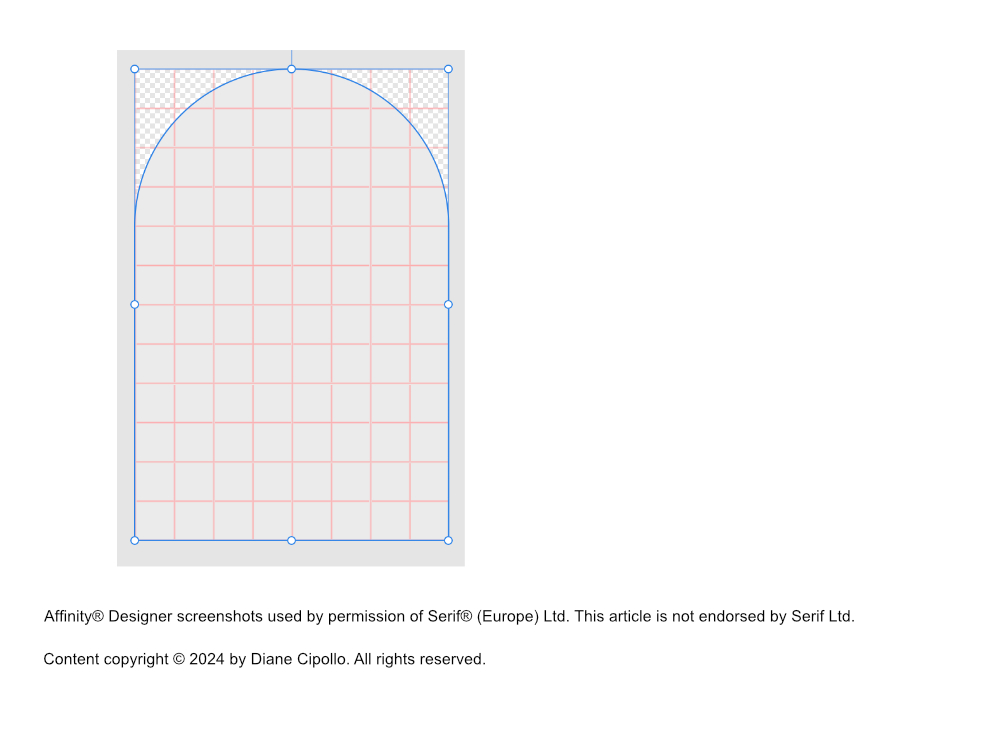
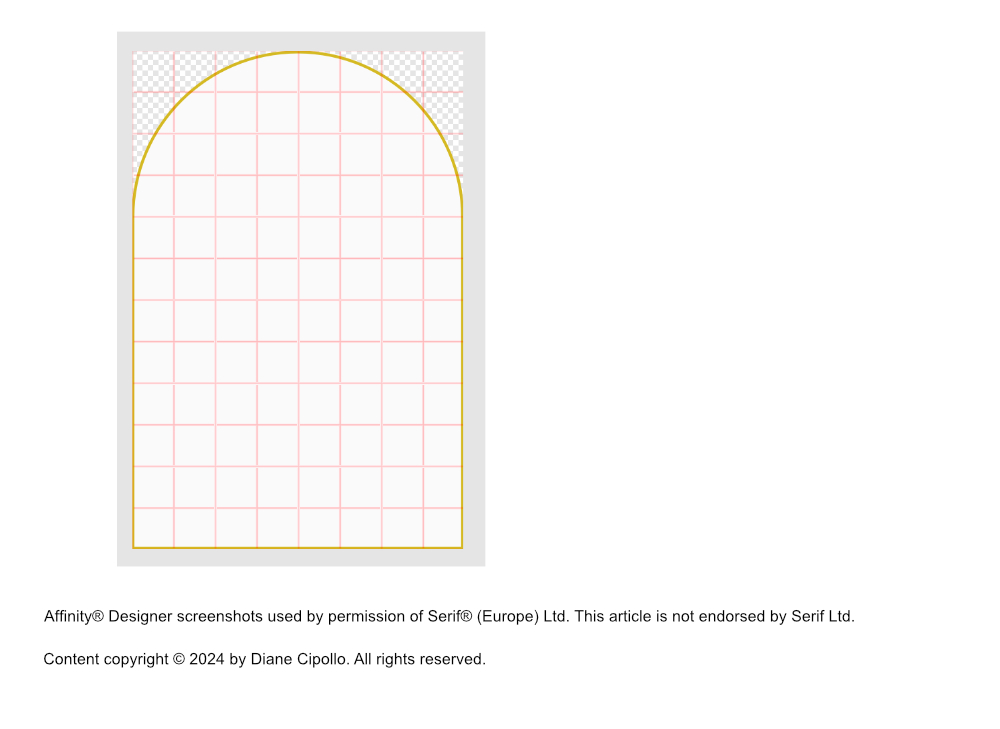
- Select both the circle and the square. From the Toolbar, click the Add icon to combine the two shapes in to the arch shape (see screenshot).
- In the Layers panel, name this layer Arch.
- With the arch still selected, set the Fill color to off white #FBFAFB and the Stroke color to gold #D4B921 in the Context toolbar. Set the Stroke Width to 3 pt and Stroke Alignment to Inside (see screenshot).
- Click File - Save as and name this document ArchShape. Save the file in the same location as the patterned background.
We will start by drawing a circle and a square. Then we will add them together to form the arch.
Let's save the arch shape as a separate .afdesign document.
Affinity Designer screenshots used by permission of Serif (Europe) Ltd. This article is not endorsed by Serif Ltd.

Related Articles
Editor's Picks Articles
Top Ten Articles
Previous Features
Site Map
Content copyright © 2023 by Diane Cipollo. All rights reserved.
This content was written by Diane Cipollo. If you wish to use this content in any manner, you need written permission. Contact Diane Cipollo for details.


