Holiday Stickers Silhouette Studio
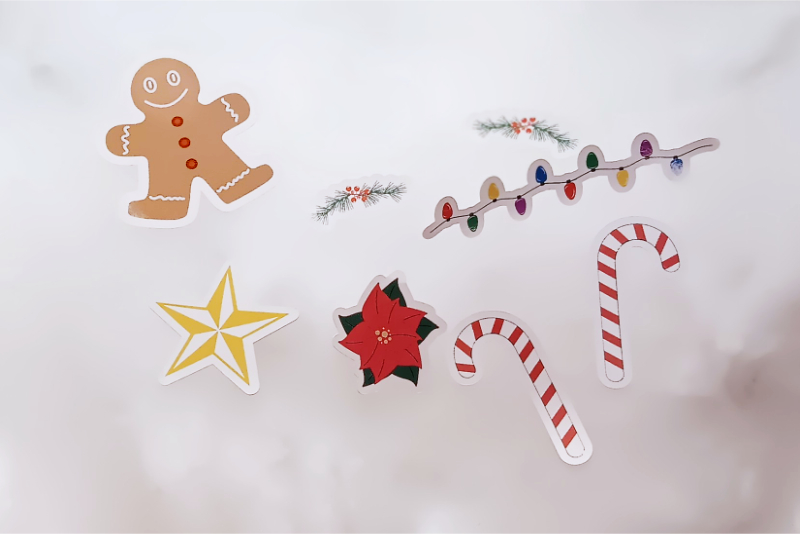
In this Silhouette Studio® tutorial, we will design a sheet of Christmas stickers, using the Offset and Print and Cut features.
Stickers are one of the most popular paper crafts because they are so versatile. Last year, I wrote a series of tutorials about how to draw Christmas icons such as a star, lights and gingerbread man cookies (see link below). Now, we will use these graphics in this tutorial to learn how to import and place PNG graphics on to a cutting area, add cutting lines to the graphics using the Offset feature, send them to the printer and cut them out with our Silhouette Cameo®.
How to Draw a Holiday Theme Collection of Elements
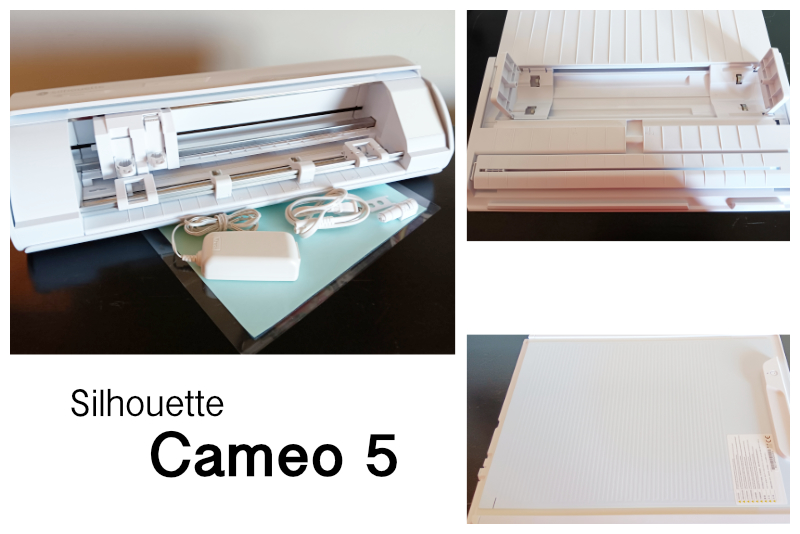
The Silhouette Cameo 5 was supplied to me by Silhouette America.
Silhouette, Silhouette Studio, Silhouette Connect, PixScan, Silhouette CAMEO and Silhouette Portrait are either registered trademarks or trademarks of Silhouette America, Inc. Product screen shot(s) reprinted with permission from Silhouette America®, Inc.
Stickers are one of the most popular paper crafts because they are so versatile. Last year, I wrote a series of tutorials about how to draw Christmas icons such as a star, lights and gingerbread man cookies (see link below). Now, we will use these graphics in this tutorial to learn how to import and place PNG graphics on to a cutting area, add cutting lines to the graphics using the Offset feature, send them to the printer and cut them out with our Silhouette Cameo®.
- Open Silhouette Studio and open on the PAGE SETTINGS panel. Set the Machine to Cameo, the Feed Type to Manual, the Cutting Mat to 12 x 12 inches and the Media Size to Letter (see screenshot).
- Click the Registration Marks tab to open that panel. Turn on the Registration Marks (see screenshot).
- To import the first png, click File - Merge and find your graphic on your computer. Click OK.
- Resize the graphic as needed for a sticker.
- Position the png on the cutting area, avoiding the registration marks (see screenshot).
- Repeat the previous steps for the other graphics.
- With one png selected, open the OFFSET panel (see screenshot). Click the Offset button and set the Distance to .1 inch. Set the Corner to Round. Click Apply.
- Select both the sticker and the offset cutting line. Right-click and choose Group.
- Repeat the previous steps for each sticker you wish to add to the cutting area.
- Click on the SEND tab to open the panel.
- Select all of the stickers. Click the No Cut button in the SEND panel.
- With all the stickers still selected, click the Cut Edge button.
- From the top menu, click File - Print.
- Load your printed stickers in to the Silhouette. Click the SEND button at the bottom of the SEND panel (see screenshot).
A good size for a sticker is between 2 and 3 inches.
I prefer the .1 inch offset distance. If you prefer a smaller or larger distance, feel free to use that amount.
Let's go to the SEND panel (see screenshot).
Notice that each sticker has more than one red cutting line. We only want the offset cutting line.
This should remove all the cut lines. Now we can tell the Silhouette to cut only the offset cut line.
This should add back the offset cut line. Now it's time to print.
Once you have printed your stickers, we are ready to cut.
How to Draw a Holiday Theme Collection of Elements
The Silhouette Cameo 5 was supplied to me by Silhouette America.
Silhouette, Silhouette Studio, Silhouette Connect, PixScan, Silhouette CAMEO and Silhouette Portrait are either registered trademarks or trademarks of Silhouette America, Inc. Product screen shot(s) reprinted with permission from Silhouette America®, Inc.

Related Articles
Editor's Picks Articles
Top Ten Articles
Previous Features
Site Map
Content copyright © 2023 by Diane Cipollo. All rights reserved.
This content was written by Diane Cipollo. If you wish to use this content in any manner, you need written permission. Contact Diane Cipollo for details.


